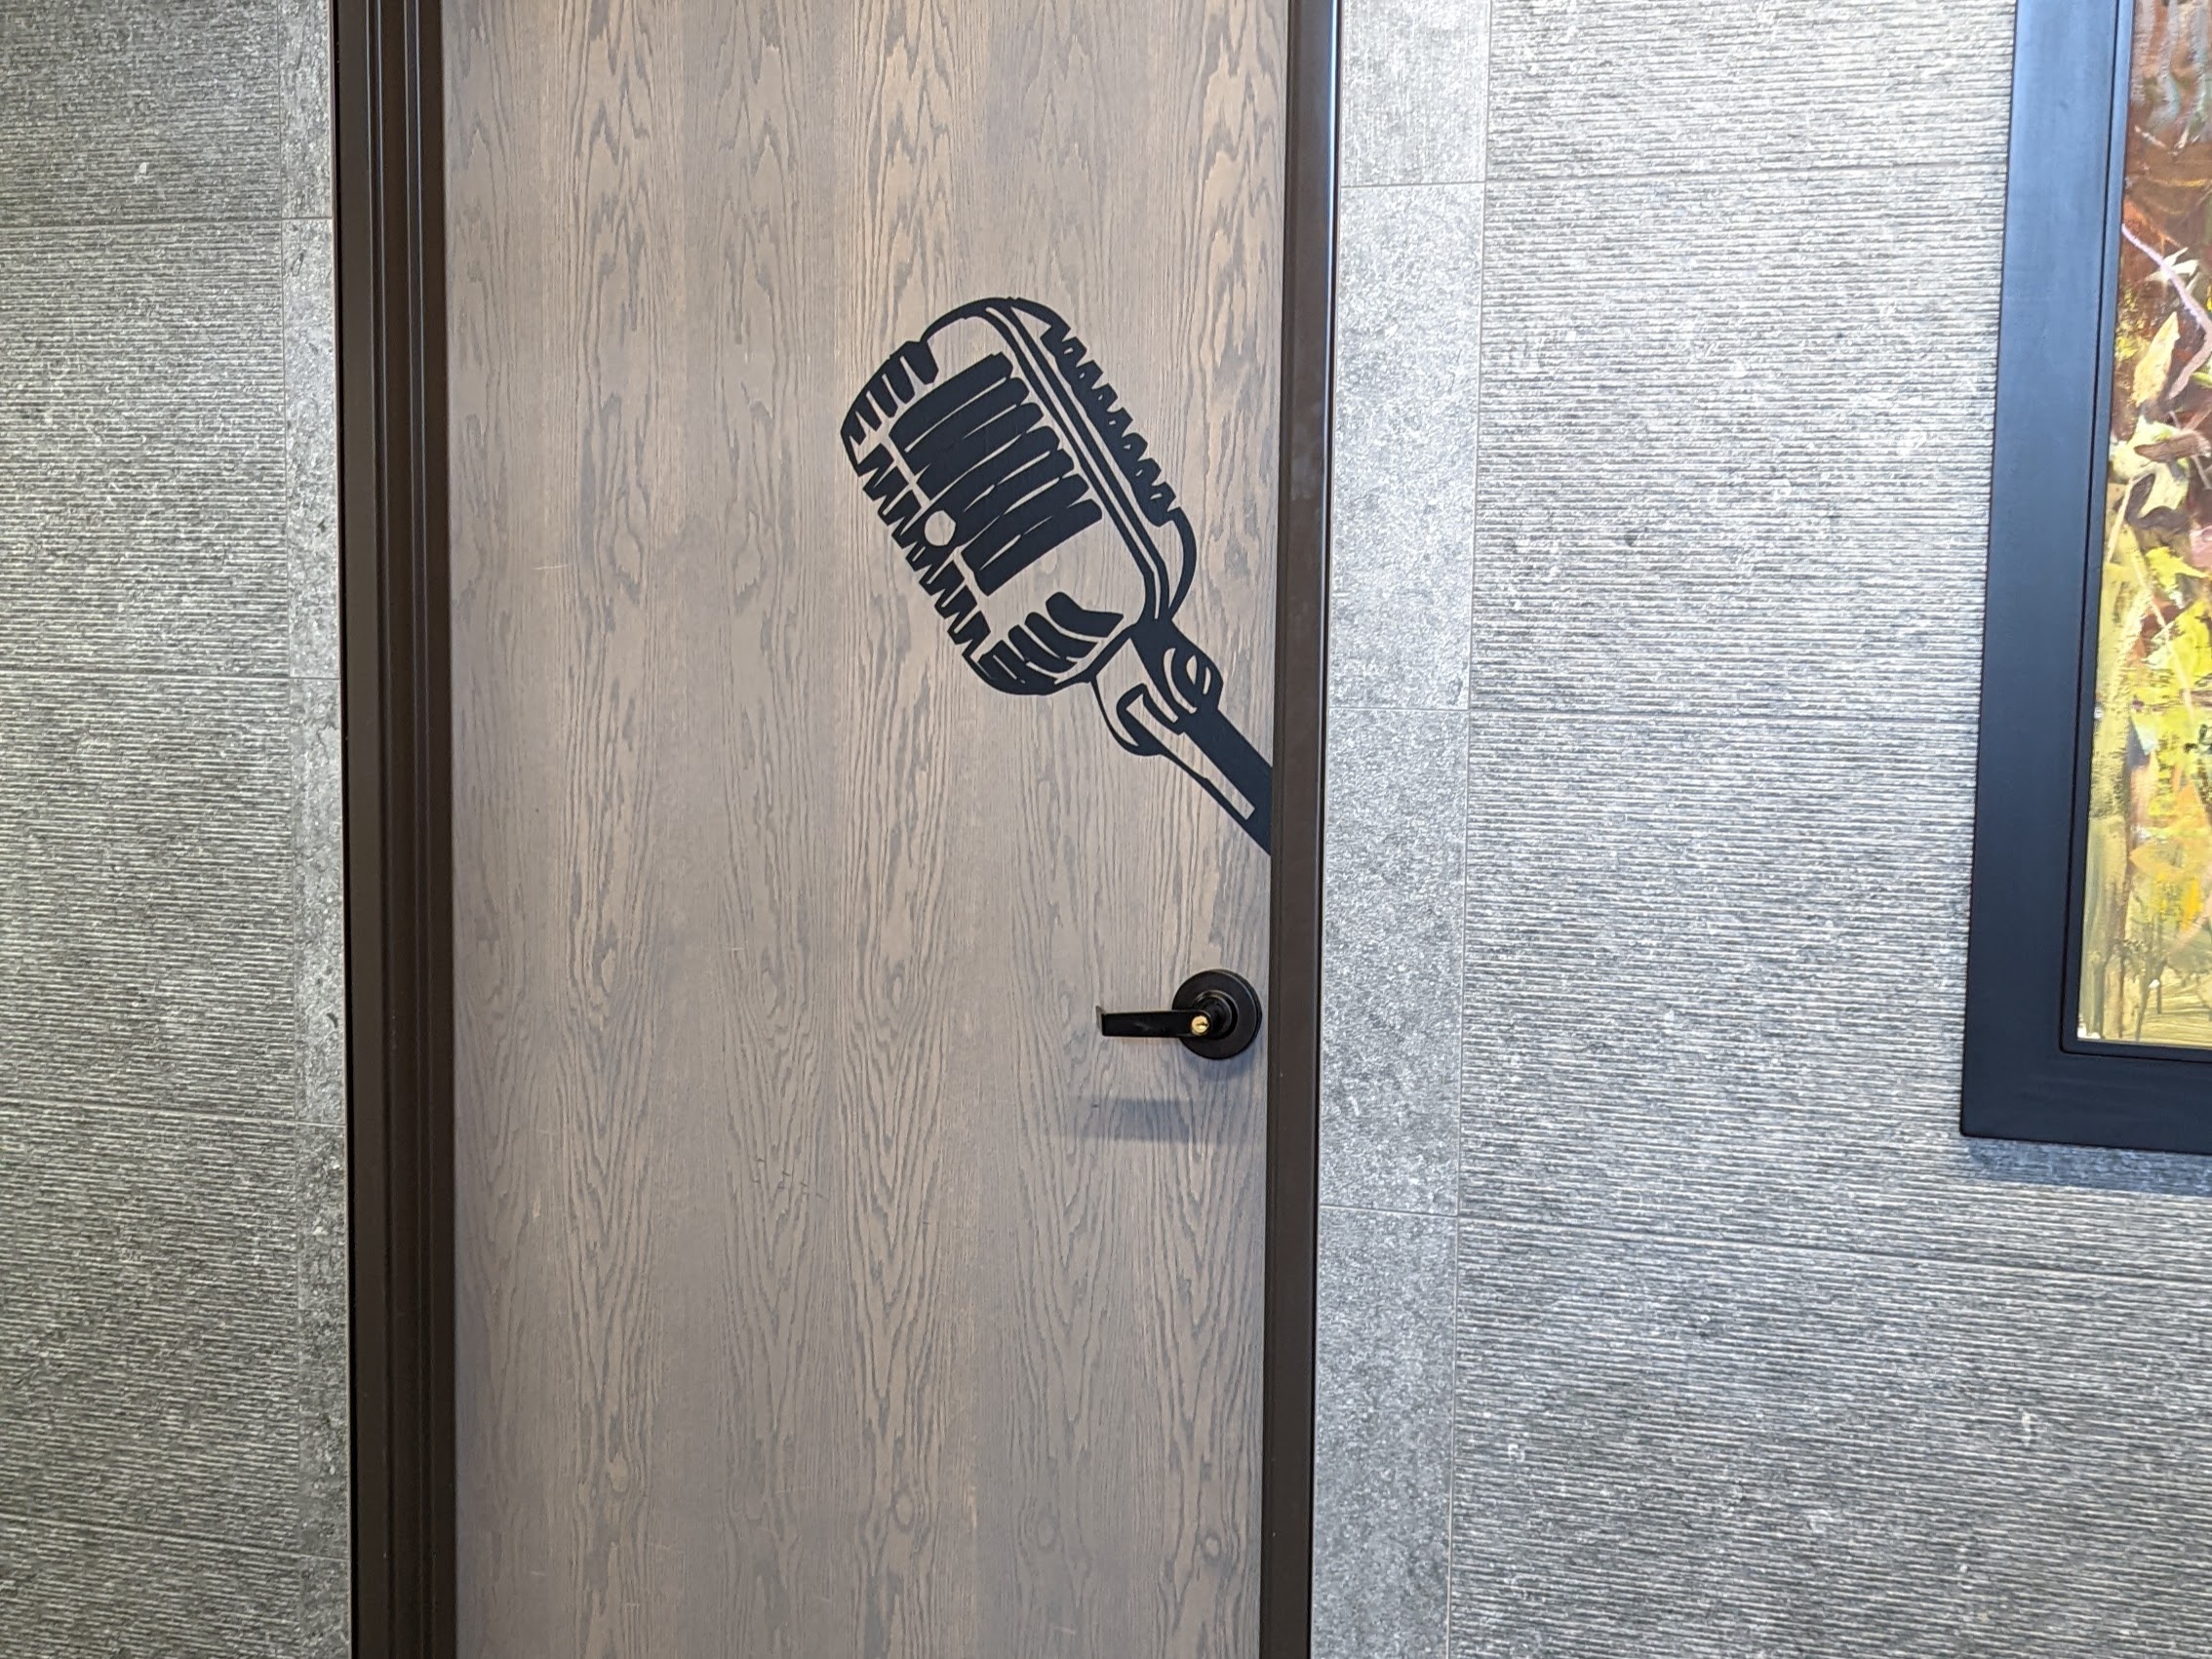
The Podcast Studio
Share your story
Making Podcasting Easy & Affordable
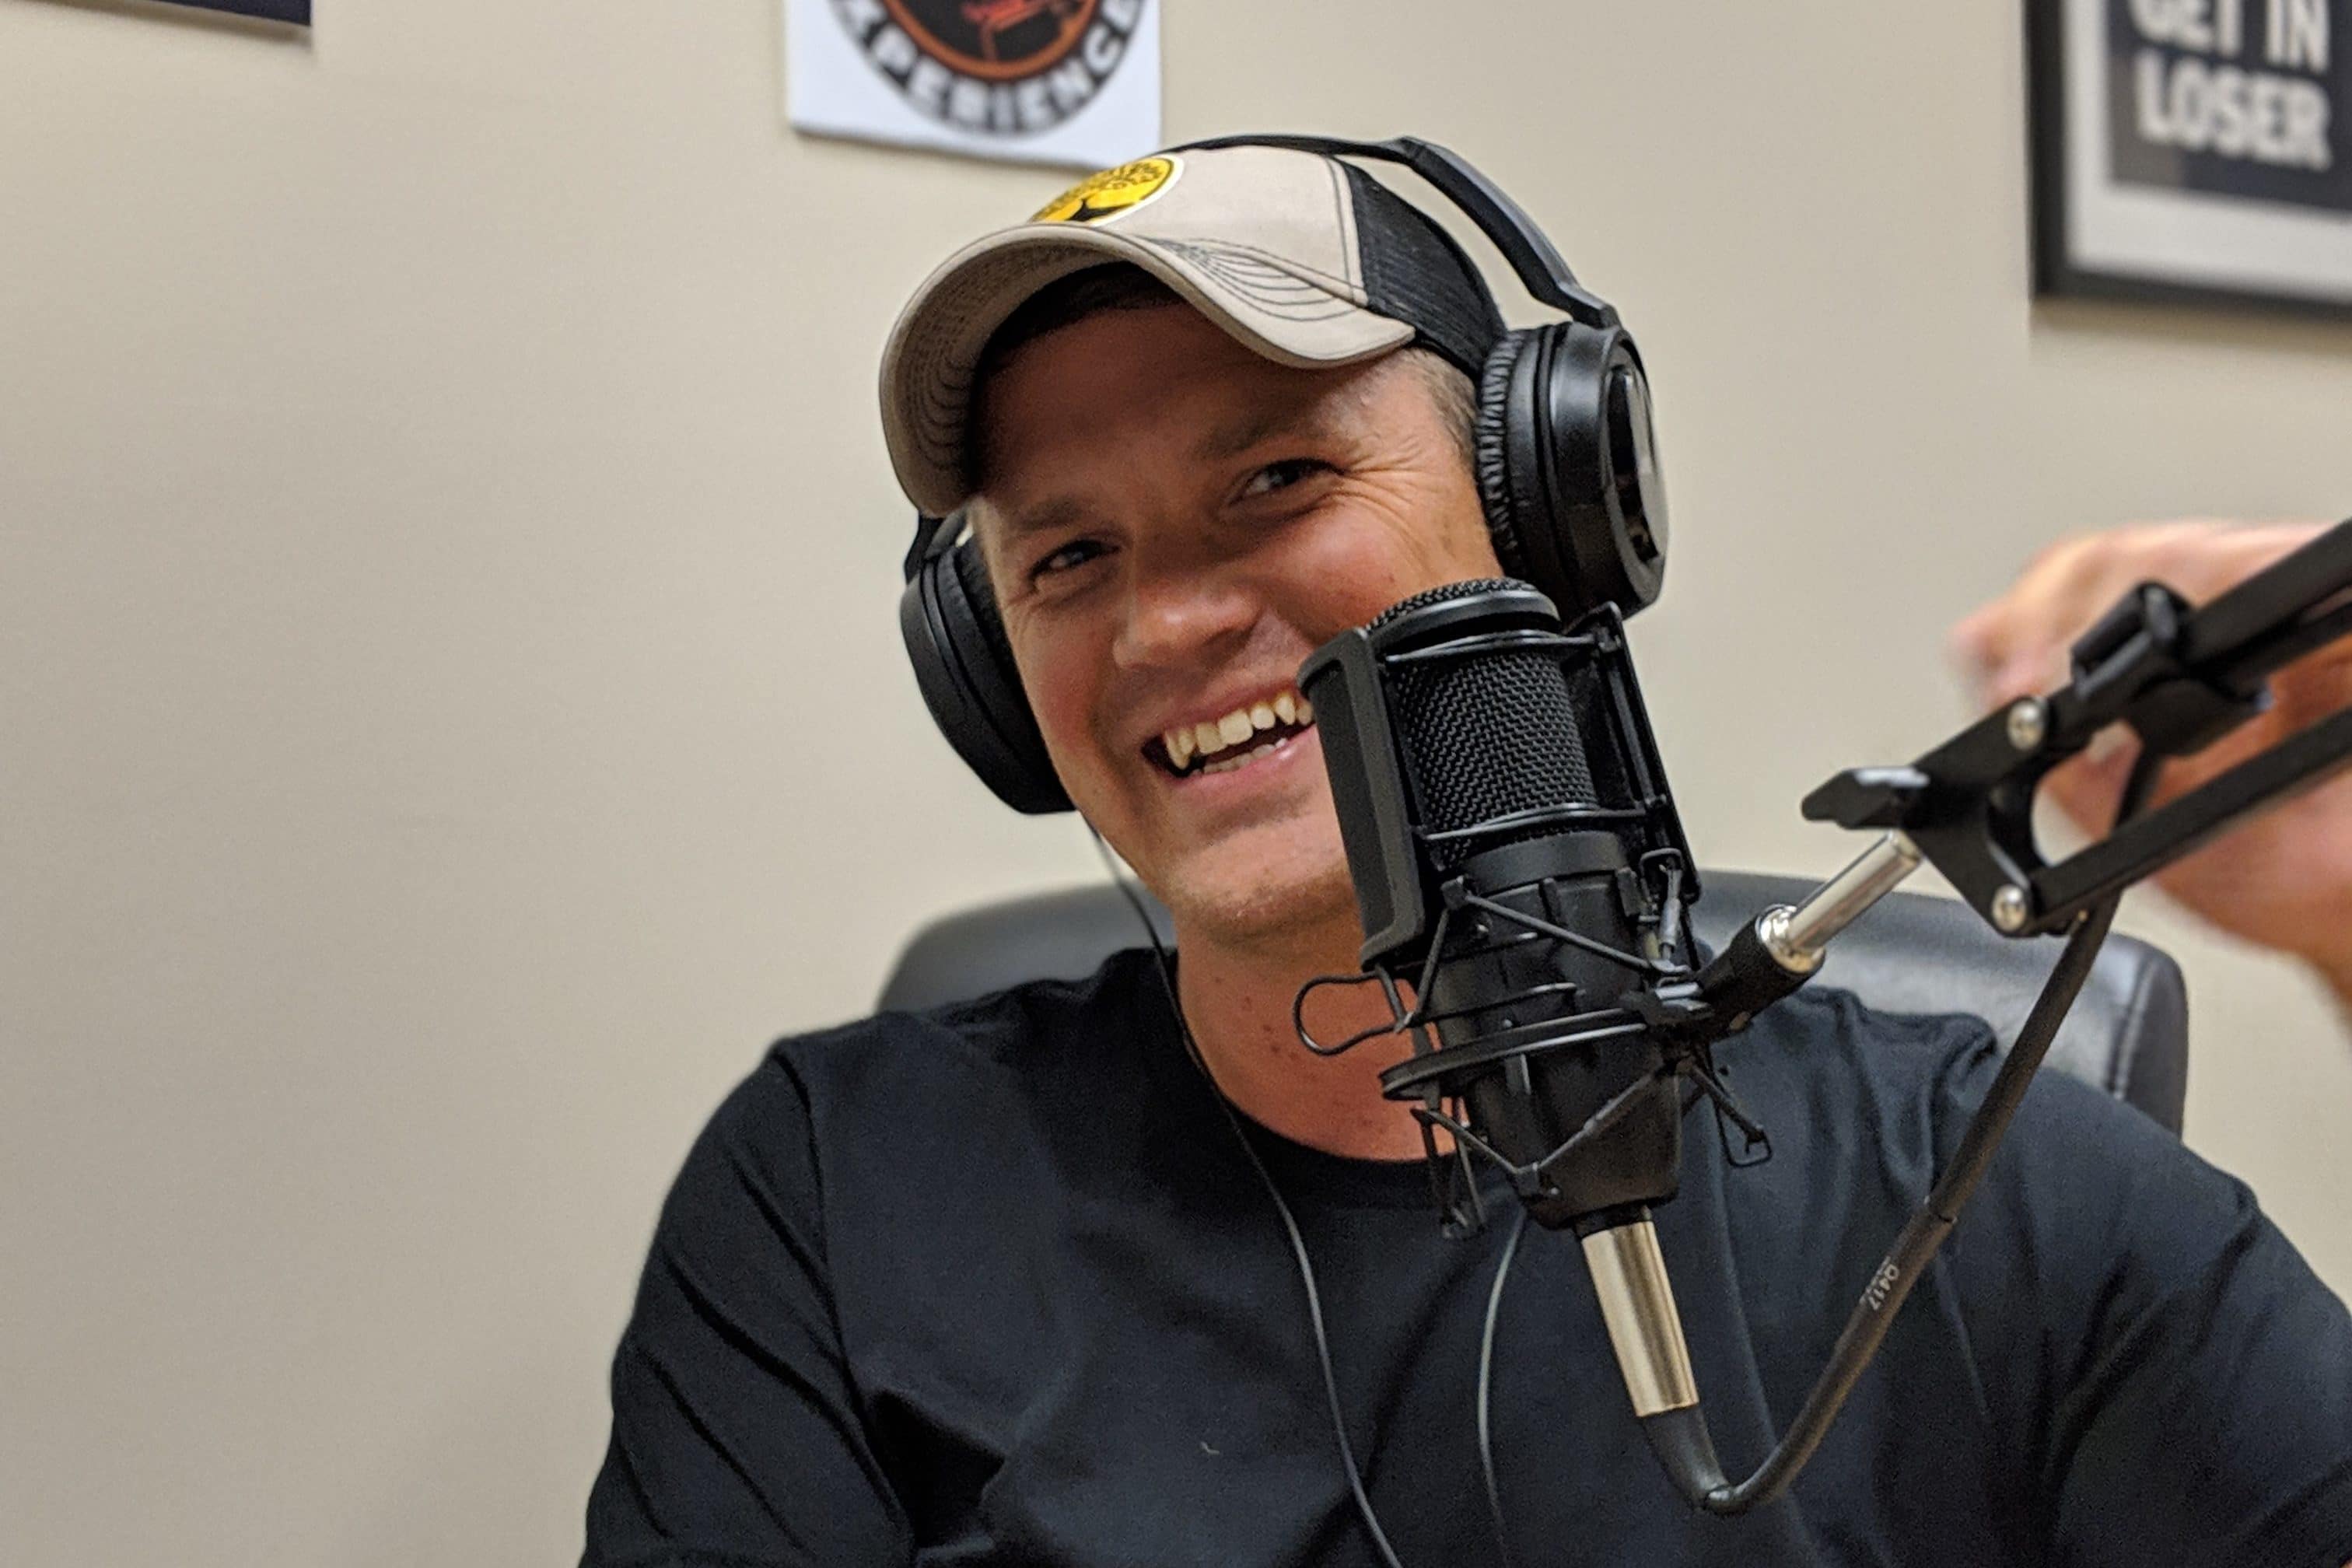
You and your company have a story to share. We’re making it easy for you to get the word out. We created a studio that is easy to use with professional quality equipment. You bring a computer, plug in, and hit record. All at a silly affordable price of $15 an hour.
There is now a $100 monthly podcasting plan that gives you 10 hours a month and after-hour access. Non-Member bookings can only be during business hours.
what you need to know
Location:
Creative Density Sunnyside at 4045 Pecos St.
Rate:
$15 per hour
Hours available:
Non-Members: 8:30 am to 5:30 pm. If it’s your first time then you’ll have to come during normal business hours for training.
Podcasting and Coworking Members: 24/7 access
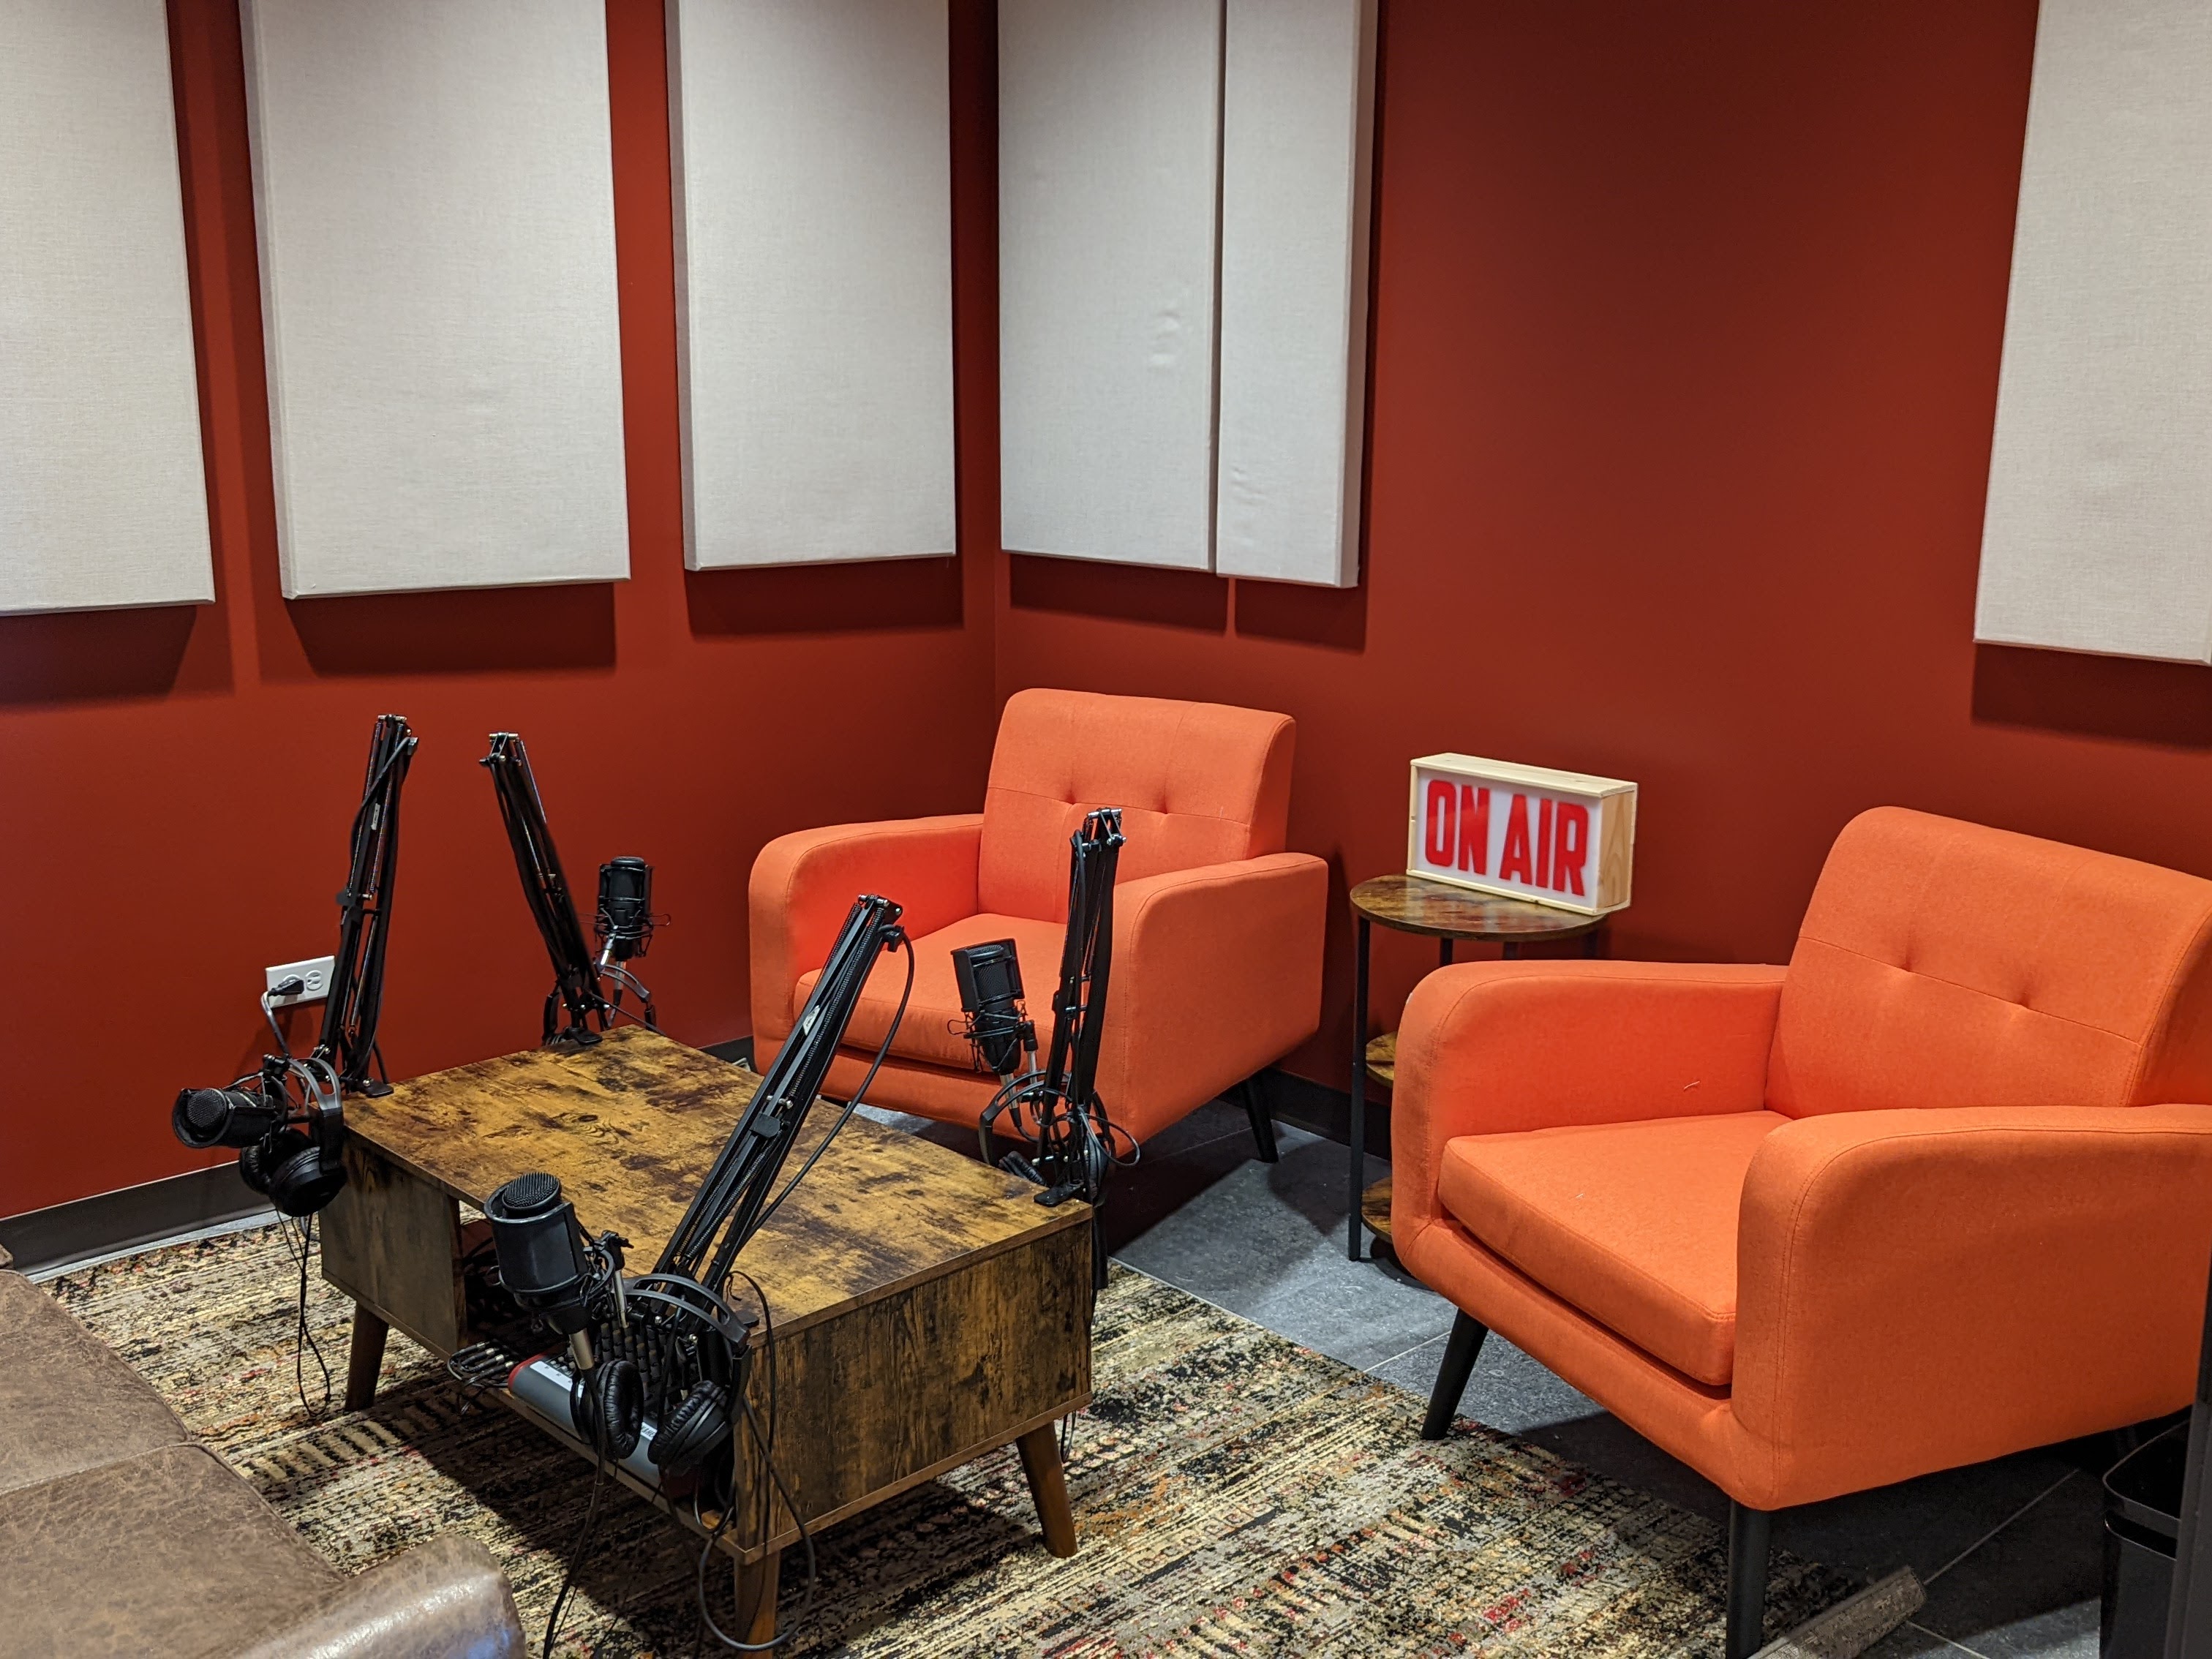
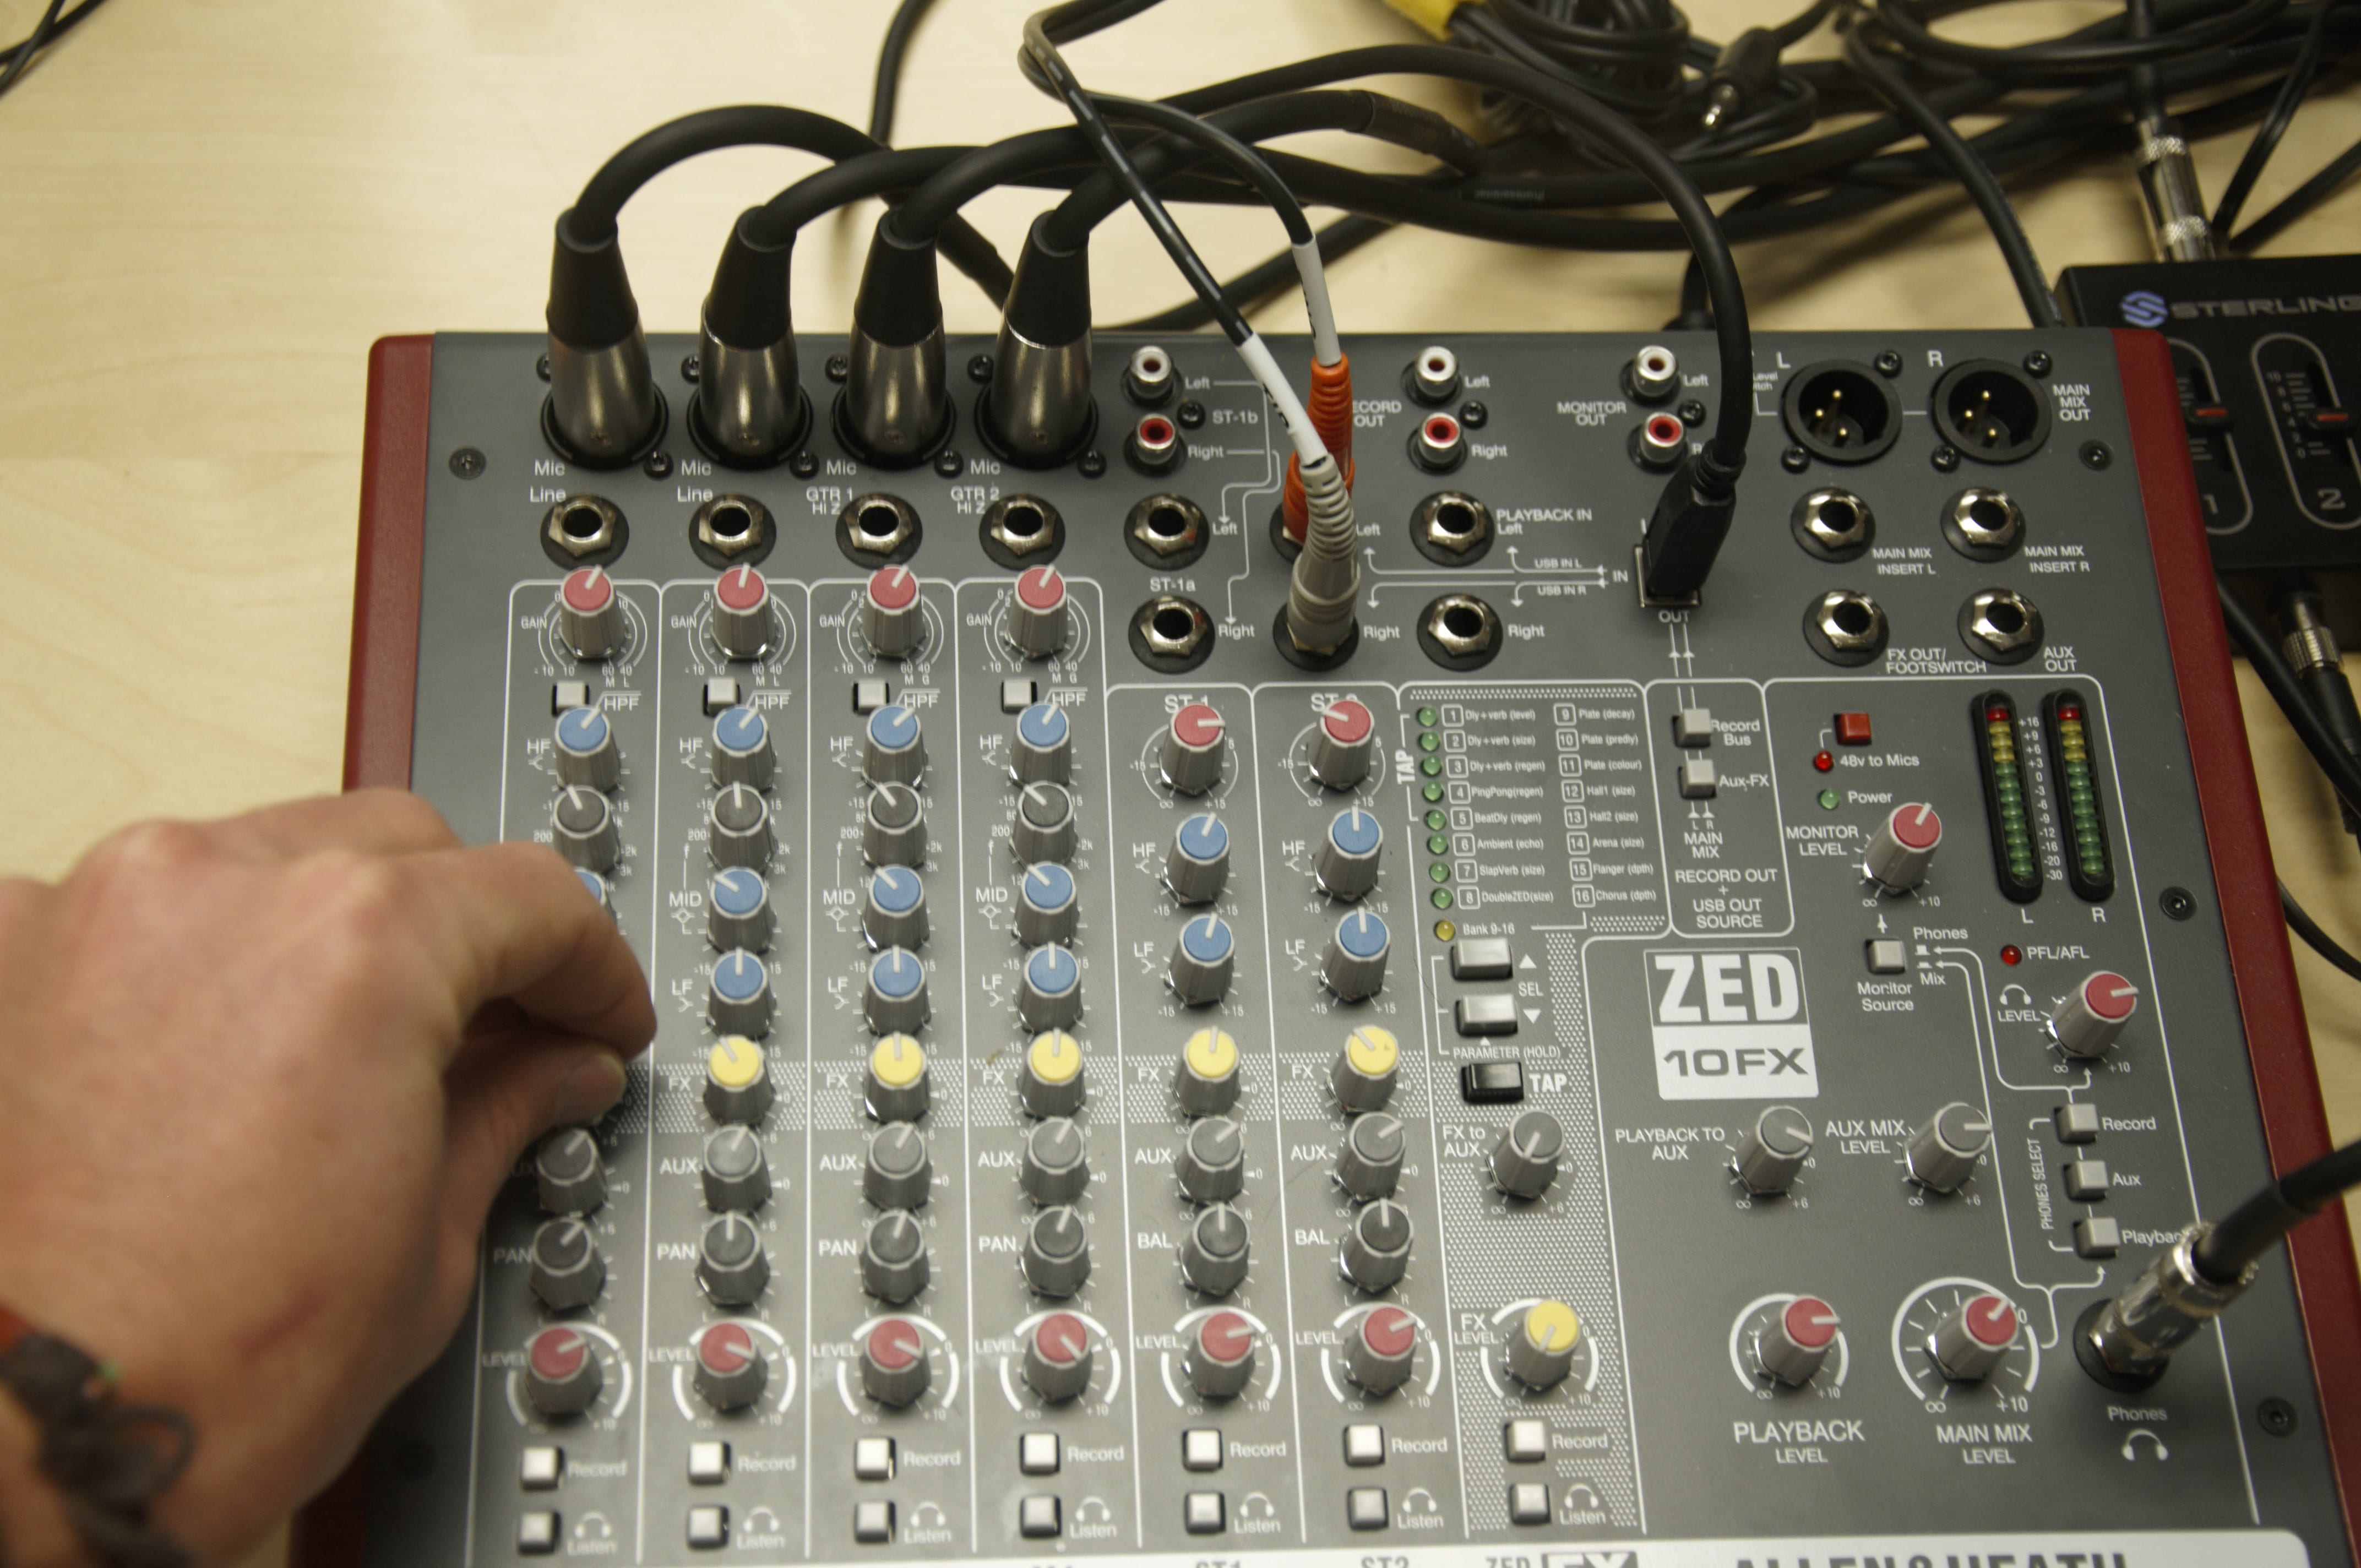
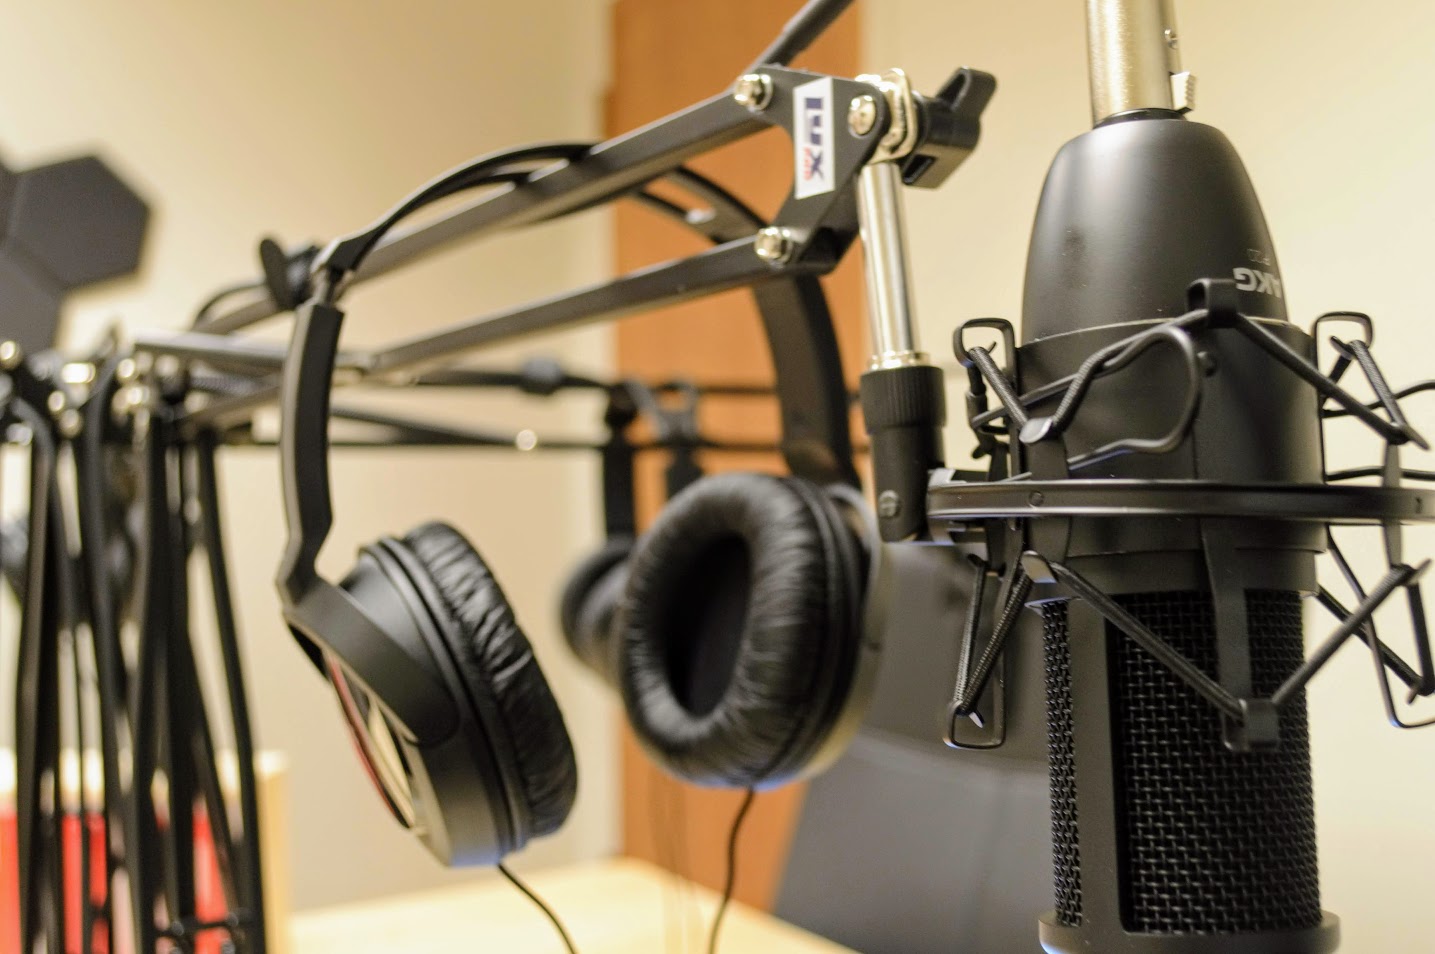
Set Up:
4 professional microphones with XLR connection and with ZOOM Pod4 (the audio company, not the video call company) podcaster mixingboard.
We recommend you give yourself 5 to 10 minutes before and after recording to get set and cleaned up.
Using the Podcasting Studio
Finding the Studio
We are located at 4045 Pecos St. The studio is located on the first floor behind the stairs. There is a large microphone icon on the door.
If you are member then you get after hour access. If you are not a member then you need to arrive during business hours during the week.
Wifi information:
Network: Creative Density
Pass: coworkingrocks
Set Up
The soundboard connects to your computer through a USB-C. Plug it directly into your laptop OR phone.
We recommend you bring in your own USB adapter to Apple Lightening or to USB-C.
Step 1. Turn ON the microphones This means you should have the switch below the gain to the right with the microphone icon AND lighting bolt.
Step 2. Adjust the GAIN This is the top controller knob. It should be set at 5 to 7 for most users. When you speak into the microphone you want the audio bars to go to around 75% height.
If you speak very close to the microphone and very loud then you should set it lower.
If you or your guest drift away from the mic then you should turn the gain higher. Turning the gain higher will make the mic more sensitive and pick up noises further away.
Step 3. Check volume levels on the light dial. Not your headphones. The bottom knob is your volume into the headphones plugged into the bottom. This only effects the volume into the headphones and not the recording volume.
Video Tutorial
Setting up the Recording Software
There are a lot of ways to record audio. We recommend Audacity or Garageband. It doesn’t really matter what software you are using or if you use Zoom. The goal is to make sure the USB board is your INPUT and OUTPUT.
If the software isn’t picking up the USB as an option then you should close and restart the software with the soundboard plugged into the computer before you open it. You can also go into your computer’s general settings and make the output and input the USB board.
Once the soundboard is recognized, it’s all about hitting record.
TV Hookup
The TV can be connected to your computer or phone through Chromecast, Airplay, and HDMI.
Studio Lights & Green Screen
We have studio lights that have a seperate wireless light switch. It should be located on the file cabinet or on the center table.
The green screen is mounted on the wall and just needs to be pulled down.
book the studio
Booking is easy and fast. You can book up to 3 months in advance. Returning users have after-hour access while first-time users are based on staff’s availability for training.
How to find us
Parking
Available right out front. Free street parking is very easy to find.
Schedule a Tour
Come on in! We’ll show you around.